How to remove bathroom sealant and replace it in 7 quick and easy steps
When you think of the most important parts of your bathroom, your mind probably jumps to its key features like a shower or a sink. While fixtures are an invaluable part of your bathroom, it’s easy to forget the smaller details that keep your bathroom functioning.
Sealants are an essential part of any bathroom design, ensuring your room is water-resistant and helping to maintain the longevity of your space. Silicone sealants simply seal open spaces in your bathroom to prevent water or humidity from creeping into gaps and causing problems later down the line.
Although sealant does a great job, it doesn’t last forever and needs to be updated occasionally to ensure your bathroom remains in tip-top shape. In this article, we’ll guide you through the process of how to remove bathroom sealant, discussing the tools you’ll need and the method to remove and replace it easily.
Tools and materials you’ll need to safely remove bathroom sealant
Old and stained sealant is never a good look but people often leave it looking unsightly because they don’t know how to remove bathroom sealant correctly.
It’s a common misconception that this is a monumental task, when in fact, with the right tools and materials, this is a relatively easy DIY job that anyone can do. We know it might be hard to resist simply covering old sealant with a fresh new layer to hide any imperfections, but you're setting yourself up for future issues if you don’t address the problem head-on.
Before you begin the task, take note of what you’ll need from start to finish and the different options available to you:
- Sealant remover tool or Stanley knife: whether you prefer to work with a sealant remover tool or a Stanley knife is up to you. However, we recommend using professionally designed tools to ensure safety and correct removal of sealant. After all, if something’s specifically designed for a task, why wouldn’t you use it?
- Sealant remover gel or spray: an optional part of the process, but one that is likely to make the task a little bit easier, sealant remover products can help speed up removing bathroom sealant.
- Cleaning product and mould remover: for cases where your bathroom sealant is a little bit past its best, mould remover might come in handy. In many cases, you can see your old sealant has become mouldy before removing it, but for some bathrooms, you might not be aware of an issue until the old layer has been cut out. Regardless of mould, cleaning the area before applying new sealant is recommended.
- Silicone sealant: the most important part of this process is selecting your sealant. For bathrooms, you should always use a silicone-based sealant, as they’re designed to work in damp environments and are extremely durable. There are a wide variety of silicone sealants to choose from and an option for every budget, so take your time to select the right one for you.
- Caulking gun: some sealants don’t require a caulking gun but, on the whole, most do. Caulking guns can be picked up in most hardware shops and are a great addition to any DIYer’s toolbox.
- Sealant smoothing tool: optional but recommended, sealant smoothing tools help to create a professional-looking finish. Alternatively, soapy water and clean fingers can be used to create a smooth look.
We’re almost ready to dive into our seven easy steps that show you how to remove bathroom sealant but first, it’s important to note that you should always follow brand instructions when using a product to ensure the best possible outcome. Tools and materials may work slightly differently, so adhering to their instructions is the most reliable way to get a result you will be proud of.
How to remove bathroom sealant
Whether you’re updating the sealant in your walk-in shower or around your walk-in bath, these handy tips will help you refresh your space and show you how to remove old bathroom sealant with minimal effort. For this stage, you’ll need your sealant remover tool or Stanley knife, sealant remover gel or spray, mould remover and a cleaning product.
- To get started, apply sealant remover gel or spray. Follow the instructions carefully here and allow as much time as possible for the solution to break down the old sealant. For tougher jobs, you may need to apply another coat once you’ve done your first round of removal.
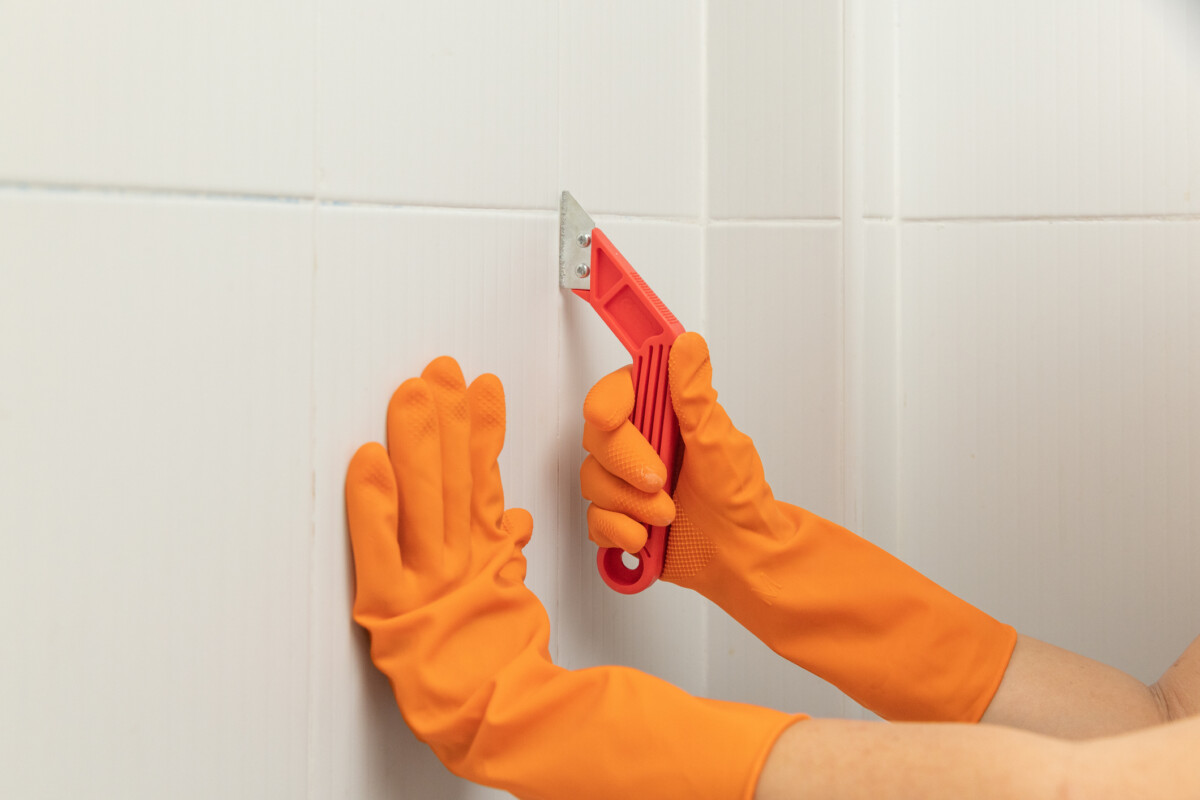
- Using your sealant remover tool or Stanley knife, carefully start to cut away the old sealant. Take your time here, and be careful to not scratch the surrounding area. Some parts of the sealant might be more stubborn than other areas, so patience is key.
- Once done, if you notice some mould underneath the sealant, clean the area with your mould remover and leave it to work its magic. After any mould has been banished from your bathroom, clean the area thoroughly and leave it until it’s bone dry before beginning the next stage.
How to replace bathroom sealant
We’ve shown you how to remove bathroom sealant easily in a few simple steps so now it’s time to replace it with a new, fresh layer of product. For this stage, you’ll need a caulking gun, sealant and a sealant smoothing tool.
- Most sealants require the use of a caulking gun to get the job done. If you’ve never used a caulking gun before, have a go getting to grips with it on an old piece of paper before you get started resealing your space. Once you’re comfortable with the process, place your sealant in the caulking gun and cut the tip off the sealant tube. Make sure you cut the end off at the same width as the area you will be applying it to.
- It’s time to use your new sealant. Apply firm and consistent pressure to the caulking gun trigger and move along the space you are resealing at a steady pace. This is the most important step in the process so take things slowly to prevent mistakes and having to redo the job in the not-too-distant future.
- Once applied, you’ll need to smooth down the sealant to ensure a perfect finish. You can use a specific sealant smoothing tool to do this, which many suggest for a professional-looking finish, or you can use your finger to smooth things down. If you opt for the latter, it’s important not to do this with dry fingers as this can cause the sealant to stick to your skin and ruin your hard work. To prevent this, make sure your fingers are damp, with some people recommending using a soapy water solution.
- Leave your new sealant to cure. Follow the instructions on your chosen silicone-based sealant, which will detail how long you need to leave the product to dry before using the area. Once dried, check the silicone is working correctly by pouring a small amount of water over it and look for any areas of concern.
Old bathroom sealant can take your space from fresh and clean to looking tired and unloved. In this article, we’ve shown you how to remove bathroom sealant in seven quick and easy steps, without the need to hire a handyman to help.
Get a FREE Brochure
Fill out the form in seconds and discover our full range of assisted bathing showers and baths.